A couple of days ago we had a couple of the classes come in and look at our projects. It went well we got lots of good comments. Many people liked our project and thought it was very creative
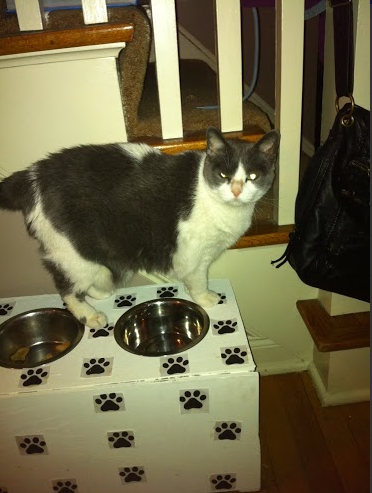
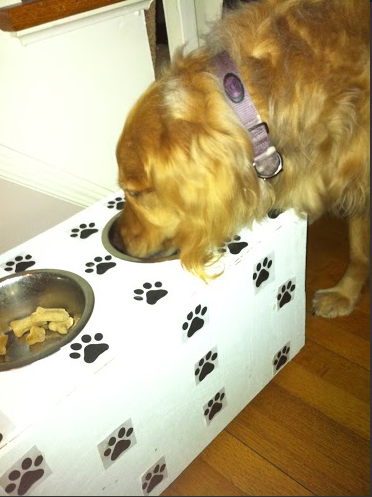
 My cat decided to take the dog feeder and stand on it and this morning when i was getting ready i found her sleeping on it. 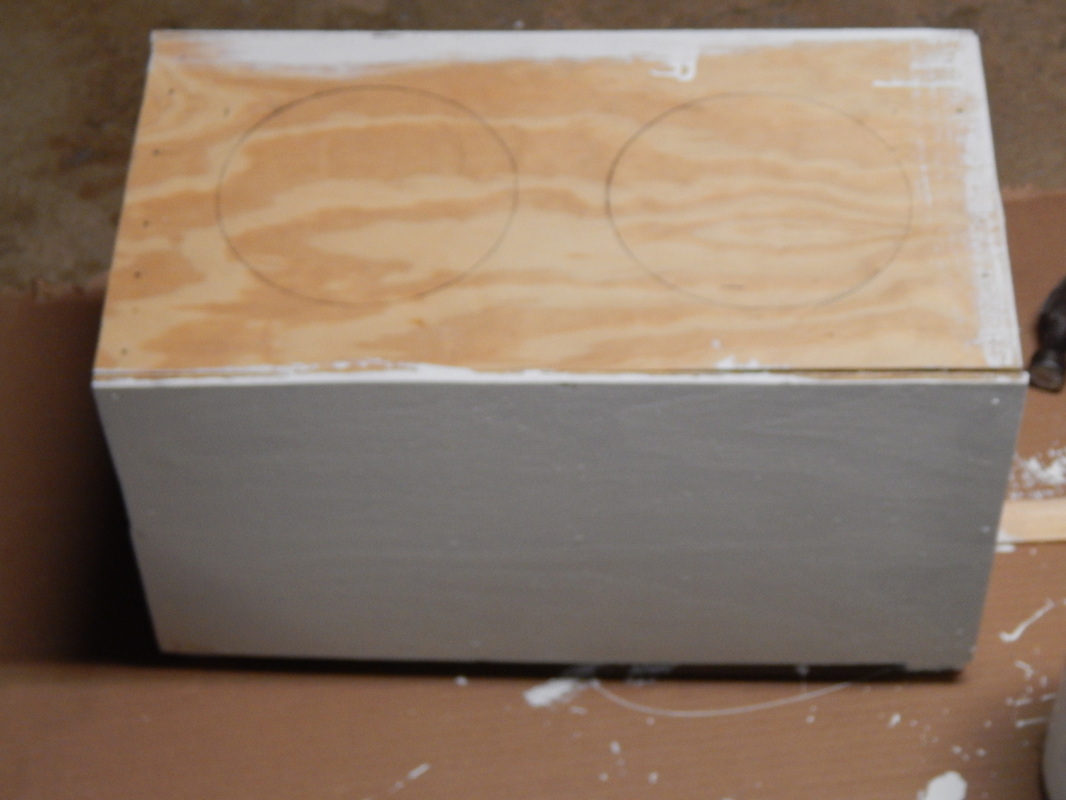 Sorry for it being kinda blurry but here the whole thing painted except for the top. 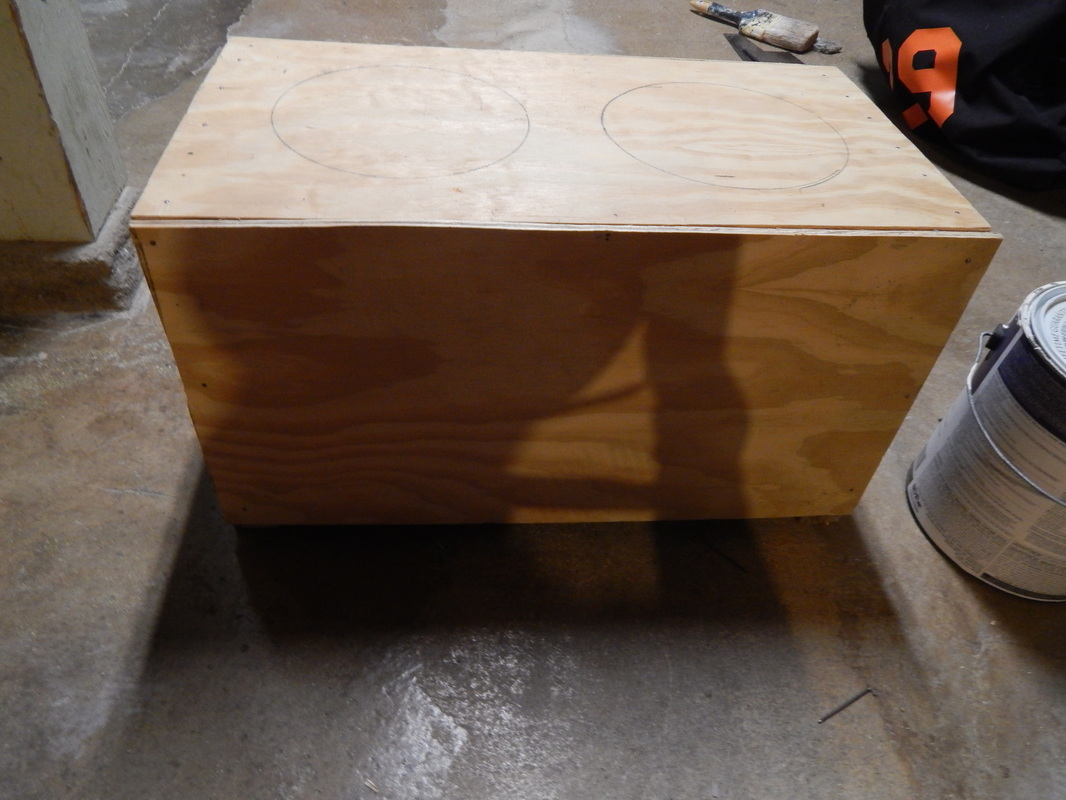
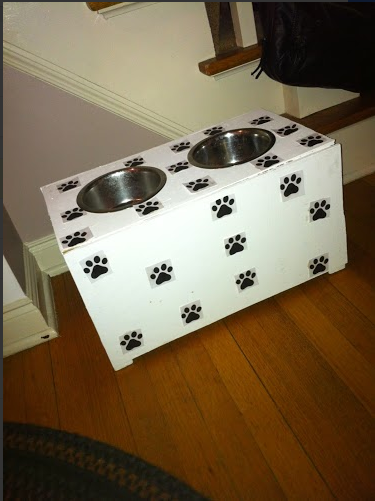
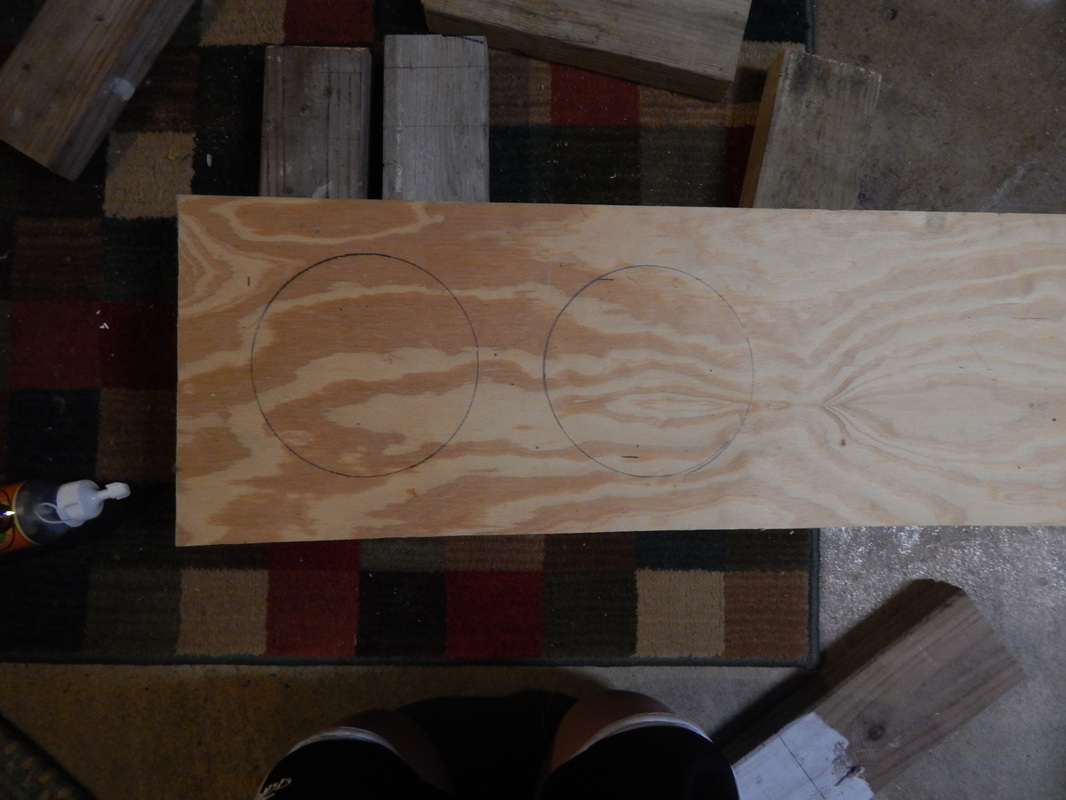
After we added all the sides we put them all together. 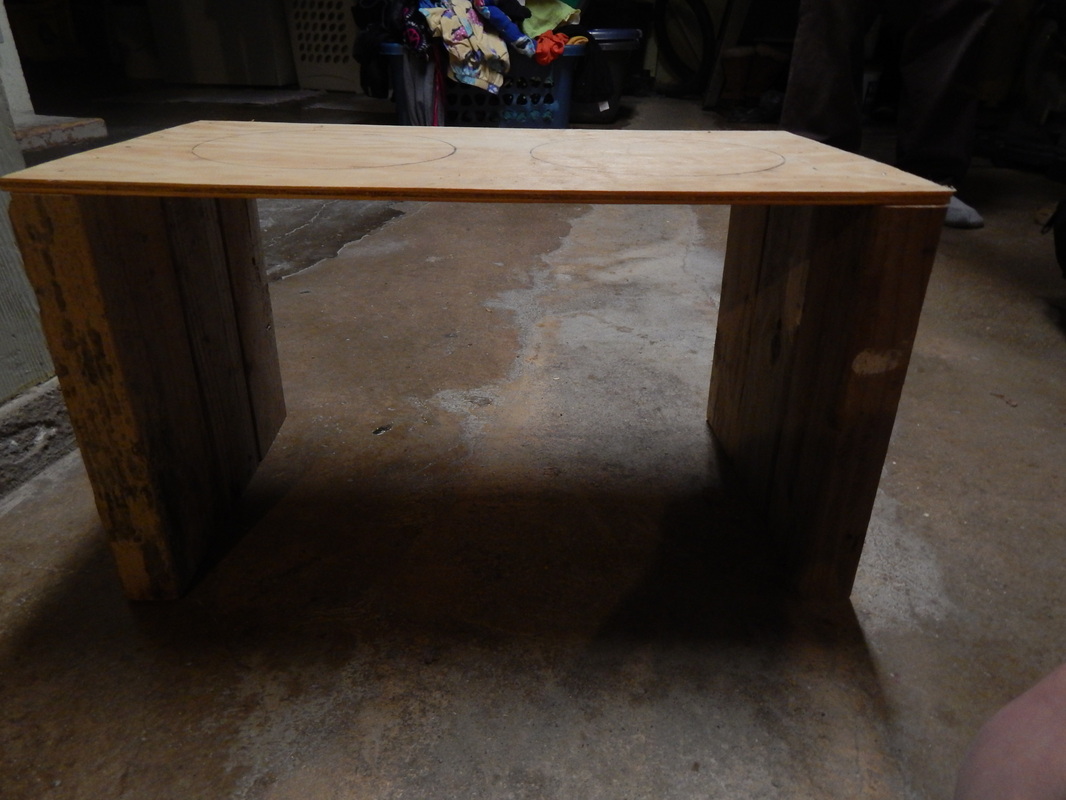 This is the second to final part of adding on this is where we combined the sides and the top. Step 1The first steps we took to build the dog feeder was we asked my dad if he had any wood we could use. After we did that we found supplies to build we found nails, hammer, saw and paint. | AuthorThis is my Genius Hour Project. ArchivesCategories |

 RSS Feed